Showing posts with label cube. Show all posts

Saturday, February 28, 2015

You are the light of my life

Light of my Life

Want to express your love to someone, but cant explain it in words? Why not make something and show them how much they mean to you. As the name suggests "You are the light of my life" will make them understand. If not, on the bright side it can also be used as your bed side lamp ;)

Check how it looks and works in the video link below :
http://youtu.be/BDRMNmwqJgw

Difficulty level : Moderate

Things you will need :
1. Canvas board (30 x 30 cm)
2. Used bulb
3. Cell 3V
4. Cell holder
5. Yellow LED with heatsink
6. Wires
7. Hot Glue gun

Box Layout & Dimensions :


#Steps :

Step 1 : Take the canvas board and cut it as shown in the layout.


Step 2 : Start gluing and sticking all the sides one by one to make a box. Reinforce the corners using hot glue to make it stronger (shown in last photo of this step).


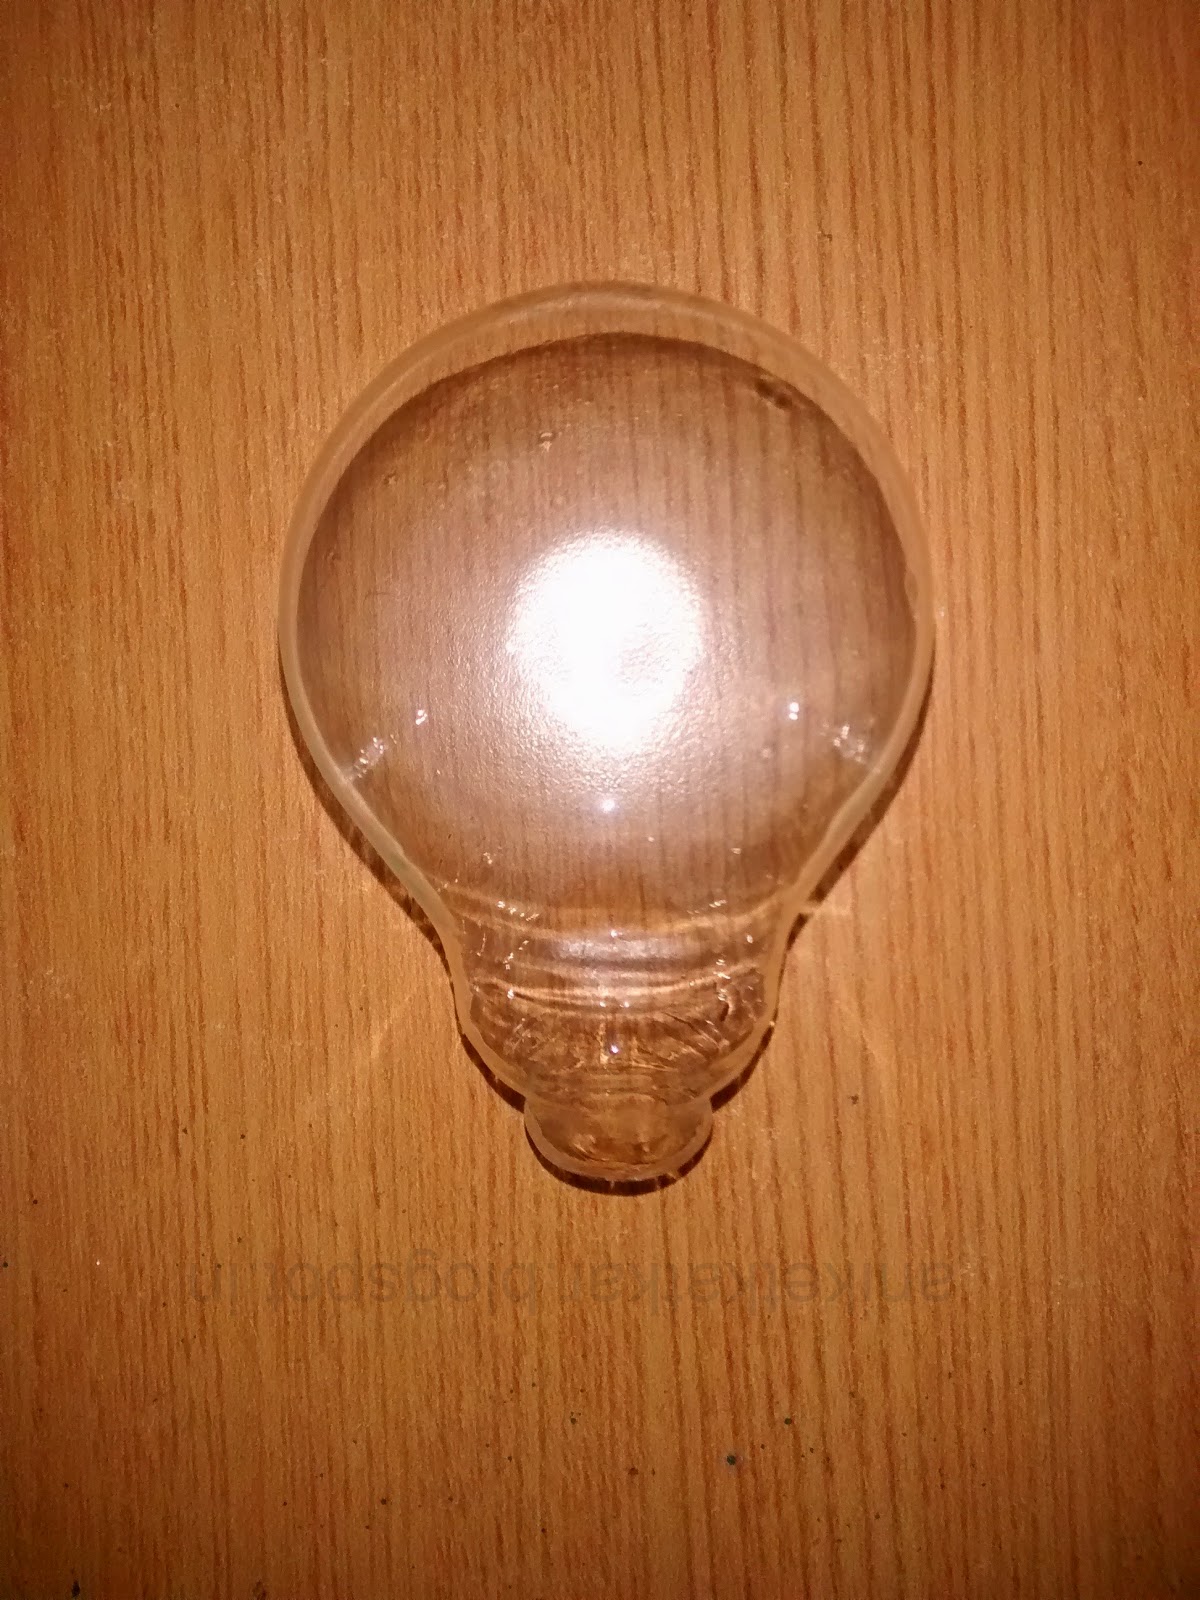
 Step 3 : Take a Lamp bulb and remove the silver cover by cutting it. Make sure you don't break the bulb while doing so.


Step 4 : Now carefully break the inner filament of the bulb and take everything out. Again, make sure the bulb doesn't break.



Step 5 : Take two pieces of wire and make heart shaped filaments from it as shown. Then secure them using glue.


Step 6 : Keep one side of the cube open to insert the circuit. The side besides the open side will be the top. Mark the center of the top side and make a hole through it using something pointed.


Step 7 : Make a simple circuit by connecting an LED, switch and cell in series. Take the wires through the hole such that the LED remains above.


Step 8 : Glue the heart filaments made in step 5 and place the bulb firmly on it, inserting the filaments in the bulb. Secure the bulb firmly with hot glue.


Step 9 : Take the half canvas board shown in the layout and and make a slit for placing the switch, then glue it to the cube. Give a test run to see if its working.


It works!!!

Step 10 : Now all that remains is painting the box. Choose colors as per your choice. I am using a wood texture so that it looks natural.


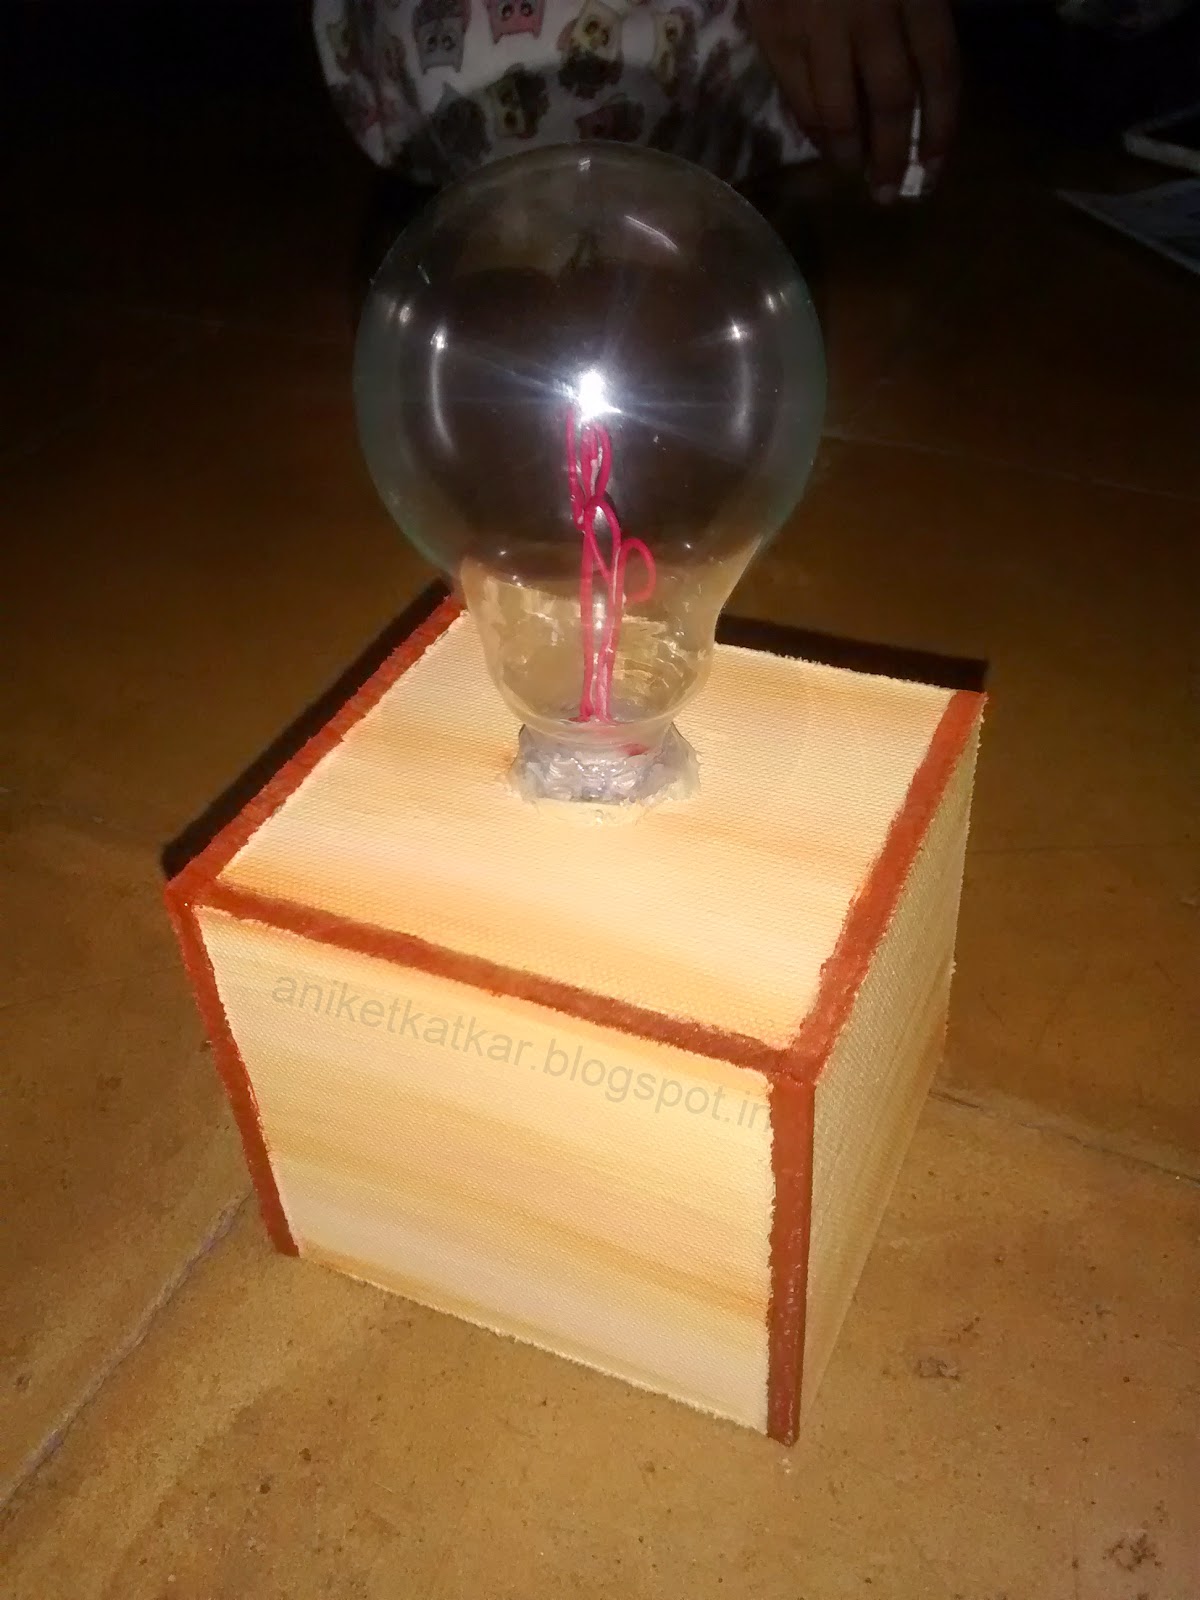


Here's how it looks when completed. Hope it brightens your day!

Please SHARE if you like it.
Comment if you have any doubts or suggestions to help improve :)

Please like us on Facebook at www.facebook.com/ArtronicsBlog


Wednesday, June 18, 2014

How to make a 3x3x3 LED cube


LED Cube

Here is an attractive and unique decorative article you can make that fits on your table and can be used on occasions like Christmas or as a showpiece. This is a non-programmed version. The chip inside produces 512 random patterns until it repeats itself .

Here is the finished video of the LED cube :
http://youtu.be/-TGM-6O2EeU

Prerequisite: Basic soldering knowledge is needed. The soldering is kind of tricky but easy when you understand it.

Difficulty level : Medium

Things you will need :
1. 27 LED's of any color
2. 9 volt battery
3. IC 4020
4. NE555
5. 33k ohm resistor
6. 1uF capacitor
7. Copper plate.
8. Etching materials - Acetone/nail polish remover, sand paper, ferrous chloride.

Following video shows how to etch the circuit on a copper plate
http://youtu.be/Vlui7s4lj7g

Circuit diagram :


#Steps:

Step 1. Take piece of copper plate and cut it in appropriate size.


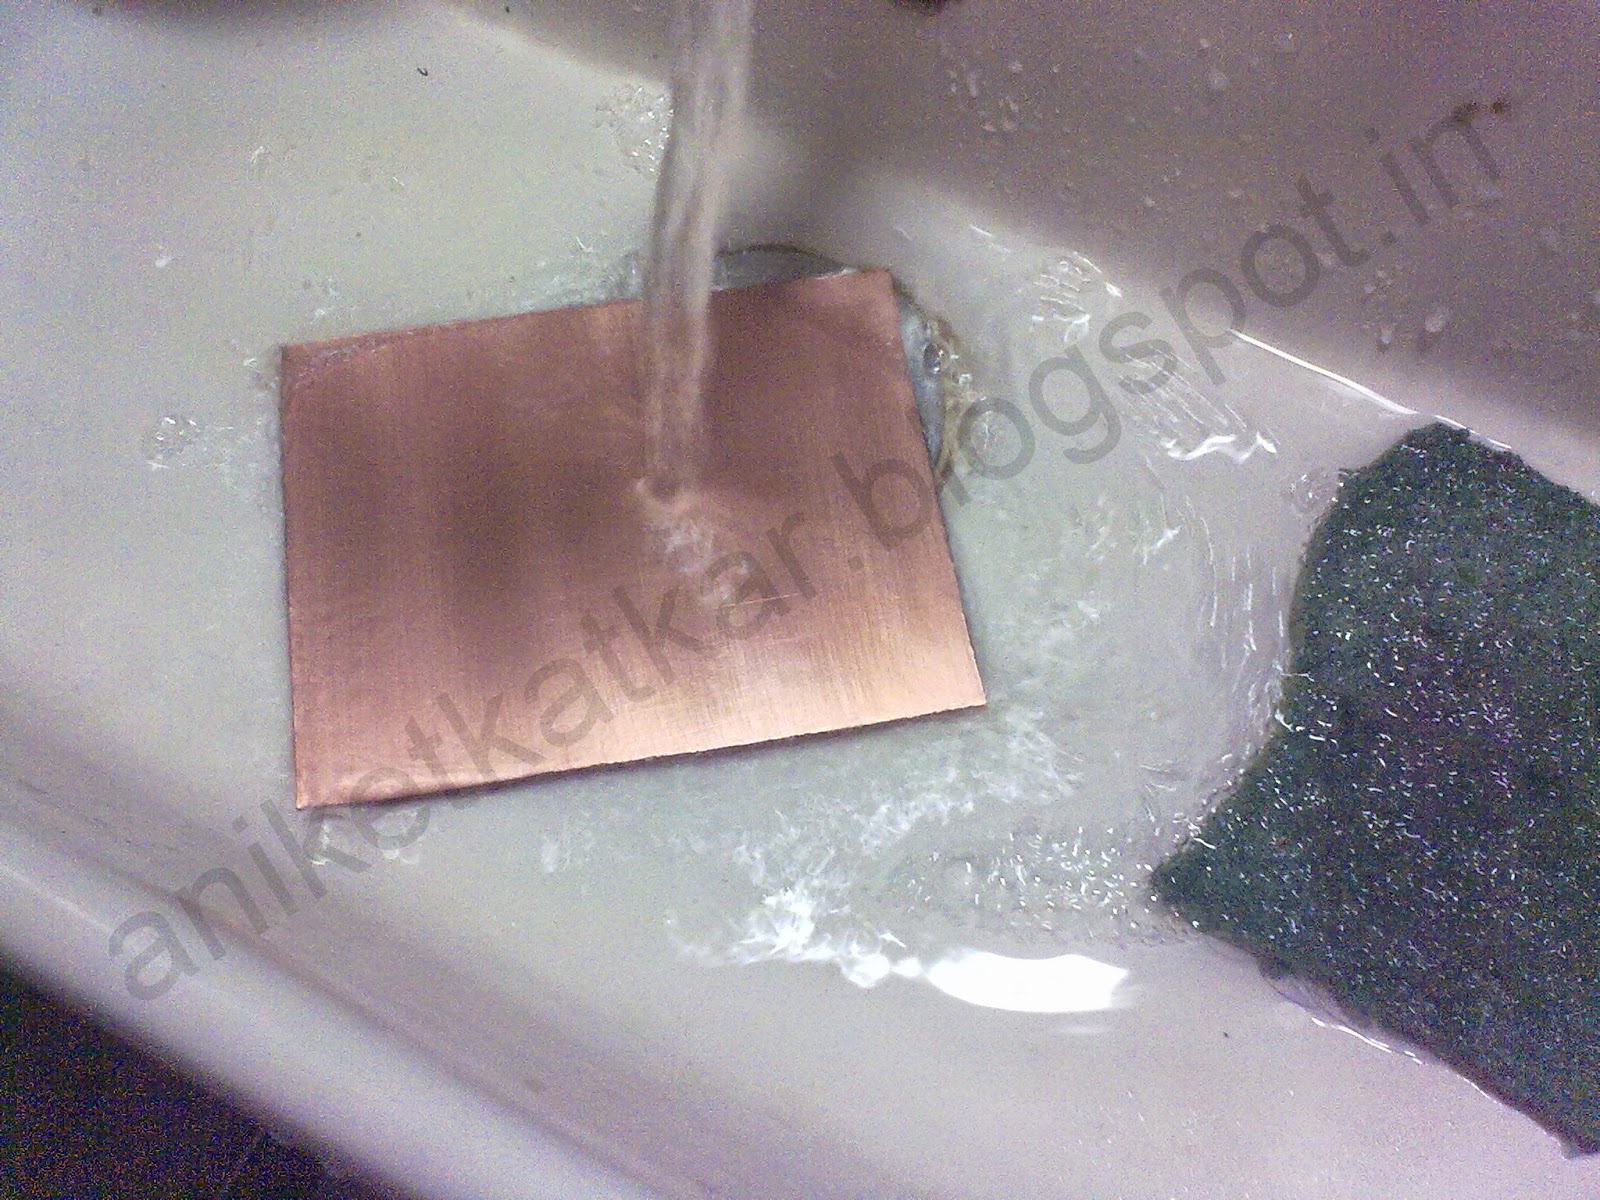
Step 2. Polish the copper plate with sand paper or scotch bright until the surface shines (This is done to remove the oxidation layer from the surface).


Step 3. Print the circuit given on the glossy side of a Photo paper. Wrap the paper on the copper plate, with the printed side on the copper side of the plate. Tape the corners to make it firm.


Step 4. Press the paper on the copper plate with a hot iron for 5 minutes.


Step 5. Dip the copper plate in warm water as soon as you finish ironing it for 5 minutes (make sure to use gloves as the copper plate will be hot). Keep the plate in water for 5 minutes.

Step 6. Take the plate out of water and remove the paper. The circuit should be printed on the copper plate now as shown in the picture. Rinse the plate in water.


Step 7. Darken the circuit using a black permanent marker.


Step 8. Prepare a solution of ferrous chloride with water in a plastic bowl (3 spoons of ferrous chloride and around 200 ml of water). Do NOT use a metallic bowl and wear gloves as the solution becomes hot and is corrosive. Dip the copper plate in the prepared solution and keep stirring.


Step 9. Continue this process until all the copper from the plate washes away leaving only the marked circuit behind.


Step 10. Wash the black marker lining using Acetone or nail polish remover.


Step 11. Drill holes on the plate as shown in the circuit for components and solder them as shown in the circuit.


For making the LED cube :

Step a. Take a LED and bend the Anode terminal as shown. Bend 27 LEDs in this way and solder them in series as shown.


Step b. Make 9 such strands of 3 LEDs in series. Connect cathodes of all the strands to a common square frame and connect it to Ground using a wire.


Step 12. Take the LED cube and solder each anode of the strand on the circuit, marked 1,2,3,4,5,6,7,8,9.


Step 13. The LED cube will look like this after completion. Connect a switch if needed.


This is a non programmed model. You can use Arduino, AtMega or other micro controllers to create your own design on the cube using Programming. Turn off the lights, switch on the LED cube and see the amazing patterns. Thank you.

Please Comment and Share if you like :)

LIKE us on facebook www.facebook.com/ArtronicsBlog