Showing posts with label blog. Show all posts

Wednesday, July 1, 2015

How to make a 3D Art Piece

3D Art Piece

Want some cool showpiece for the empty space on your table? Or just some nice decorations for an occasion? Here's how you can make a 3D Art Piece using Hot glue and a LED. Using Hot glue is simpler and economical than using a 3D printer for such shapes.
You can view the How to video tutorial here 

Difficulty level : Easy

Things you will need :
  1. Hot glue gun
  2. 3V LED
  3. 3V Coin cell
  4. 3V Coin cell holder
  5. A small cardboard box
  6. Some plastic sheets
  7. LED heatsink
#Steps : 

Step 1 : Take a small box as shown and cut the flaps off both sides. The box should look as shown after cutting the flaps.


 Step 2 : Open the box from the edge as shown. Then wrap a piece of plastic around it, and make the box again. The plastic wrap prevents the hot glue from sticking to the box.


Step 3 : Take an LED and place it on a heatsink and solder its terminals to the heatsink.


Step 4 : Now glue the heatsink to a 3V coin cell holder's back and solder the terminals to the holder's terminals. Make sure you keep the right polarity while soldering.


Step 5 : Place the LED on a plastic sheet and place the box on it as shown. Make sure the LED is in the center of the box.


Step 6 : Hold the box with your hand and pour Hot glue in the box enclosure using a Hot glue gun. Pour as much as half the box.


 Step 7 : Let the whole assembly dry.


Step 8 : Remove the setup and start removing the box slowly. You will get a nice finish and make sure you dont damage the strand like structures because they look really cool.


Step 9 : Place a 3V Coin cell in the holder and let the magic work for itself.


With Flash
No Flash
In Dark room
In Dark room: HDR mode

 You can experiment with various boxes and different shapes and sizes. Also you can sprinkle some glitter whilst pouring the hot glue for extra aesthetics. Have fun. Share your views or ideas in the comments.

You can view the How to video tutorial here

Please SHARE if you like and feel free to comment/ask what you made :)

Like us on Facebook at www.facebook.com/ArtronicsBlog 

Wednesday, June 3, 2015

How to make a Pokeball locket

Pokeball Locket

Almost everyone has watched Pokemon in their life and most people love them. Only if they were real, you would love to have them and the pokeballs. Here's an article on How to make a pokeball locket for all those fans out there. Time to show off the Otaku in you!

Difficulty level : Easy

Things you will need :
  1. Clay/ M-seal packet
  2. A paper clip or a small wire
  3. A chain for the locket
  4. Texture white 
  5. Acrylic Paint (Red and White)
  6. Black permanent marker
 #Steps :

Step 1: Take some Clay or M seal and make a small ball using it. Use M-seal Hobbyideas for best results.


Step 2 : Take a paper clip and cut it to make a small U shaped pin as shown below. Insert it in the ball before the M-seal dries.


Step 3 : After it dries, use a sandpaper to polish it a little and make it a perfect sphere. Paint the surface using Texture white.


Step 4 : Take a black permanent marker and draw the pokeball outlines as shown.


Step 5 : Paint it red and white for the regular pokeballs. Make use of Acrylic paint for best results.


Step 6 : Add one more layer of paint and give finishing touches. Apply Varnish to make it shine and protect it from dust.


Make some more with different sizes and colors! Remember, you gotta catch 'em ALL!!!

Please SHARE if you like and feel free to comment/ask what you made :)

Like us on Facebook at www.facebook.com/ArtronicsBlog  


Saturday, February 28, 2015

You are the light of my life

Light of my Life

Want to express your love to someone, but cant explain it in words? Why not make something and show them how much they mean to you. As the name suggests "You are the light of my life" will make them understand. If not, on the bright side it can also be used as your bed side lamp ;)

Check how it looks and works in the video link below :
http://youtu.be/BDRMNmwqJgw

Difficulty level : Moderate

Things you will need :
1. Canvas board (30 x 30 cm)
2. Used bulb
3. Cell 3V
4. Cell holder
5. Yellow LED with heatsink
6. Wires
7. Hot Glue gun

Box Layout & Dimensions :


#Steps :

Step 1 : Take the canvas board and cut it as shown in the layout.


Step 2 : Start gluing and sticking all the sides one by one to make a box. Reinforce the corners using hot glue to make it stronger (shown in last photo of this step).


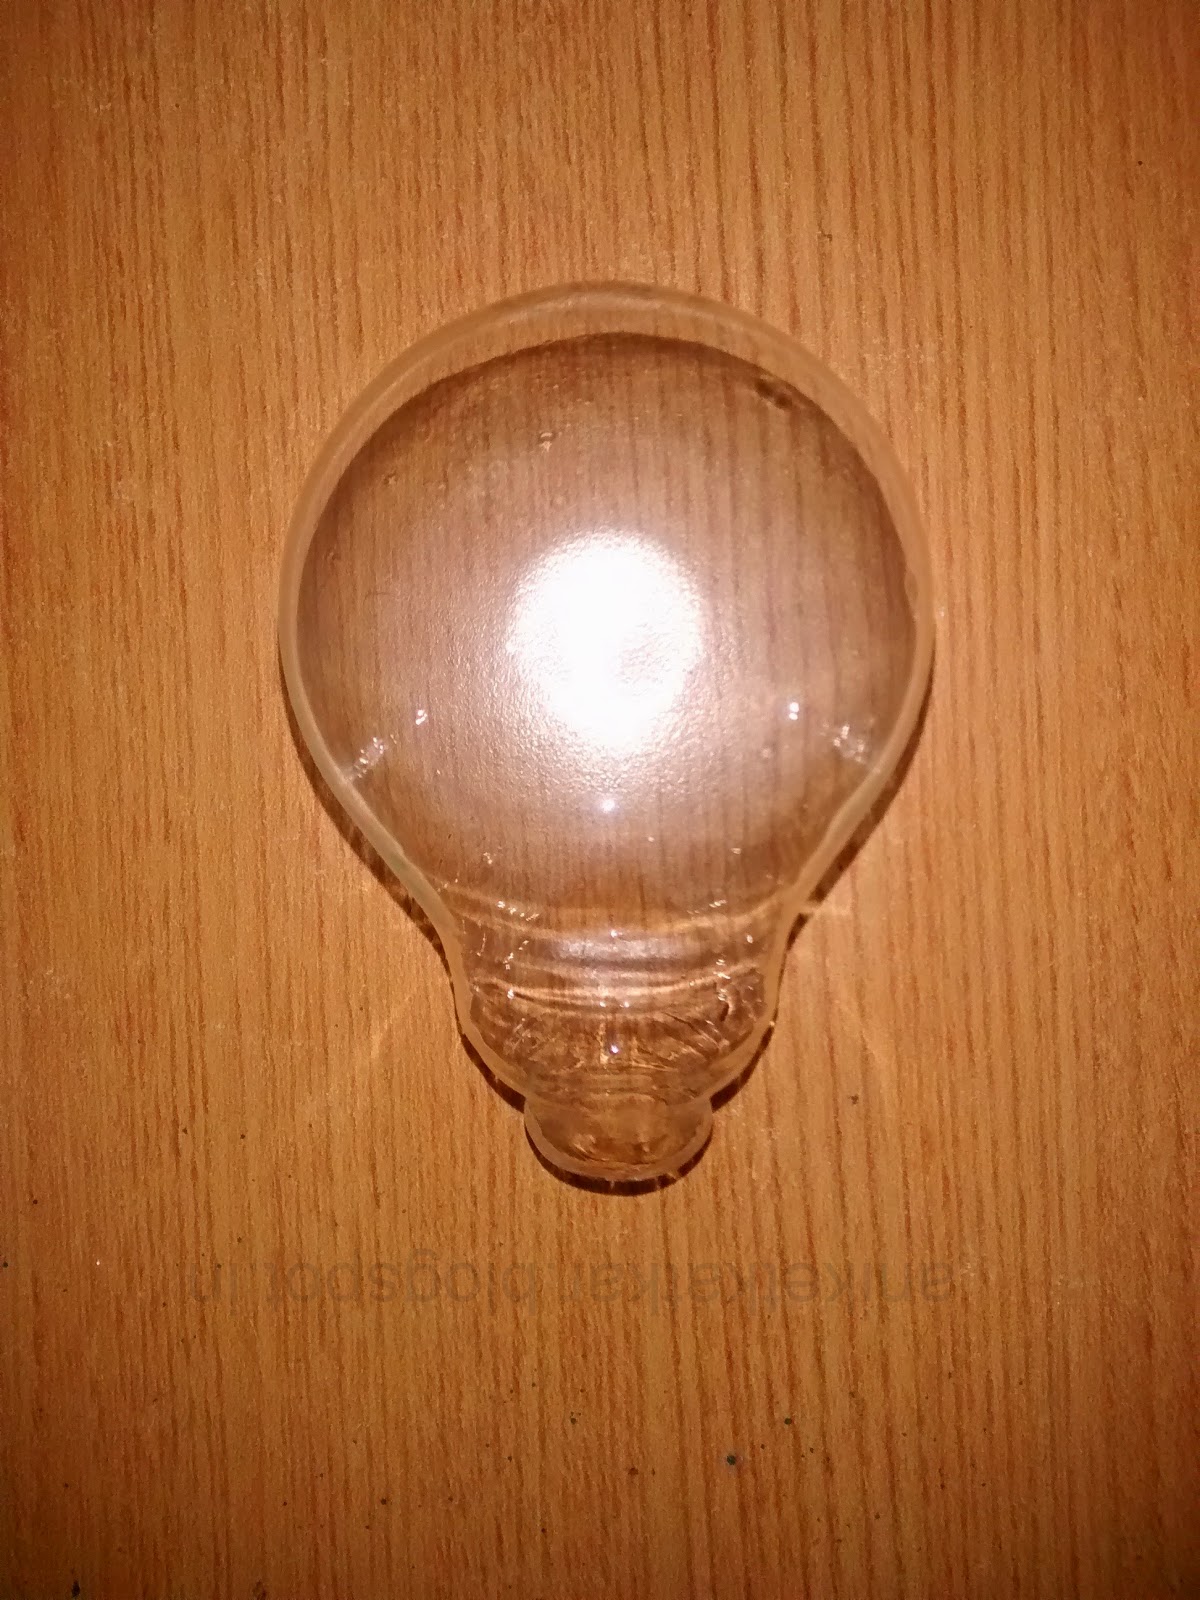
 Step 3 : Take a Lamp bulb and remove the silver cover by cutting it. Make sure you don't break the bulb while doing so.


Step 4 : Now carefully break the inner filament of the bulb and take everything out. Again, make sure the bulb doesn't break.


Step 5 : Take two pieces of wire and make heart shaped filaments from it as shown. Then secure them using glue.


Step 6 : Keep one side of the cube open to insert the circuit. The side besides the open side will be the top. Mark the center of the top side and make a hole through it using something pointed.


Step 7 : Make a simple circuit by connecting an LED, switch and cell in series. Take the wires through the hole such that the LED remains above.


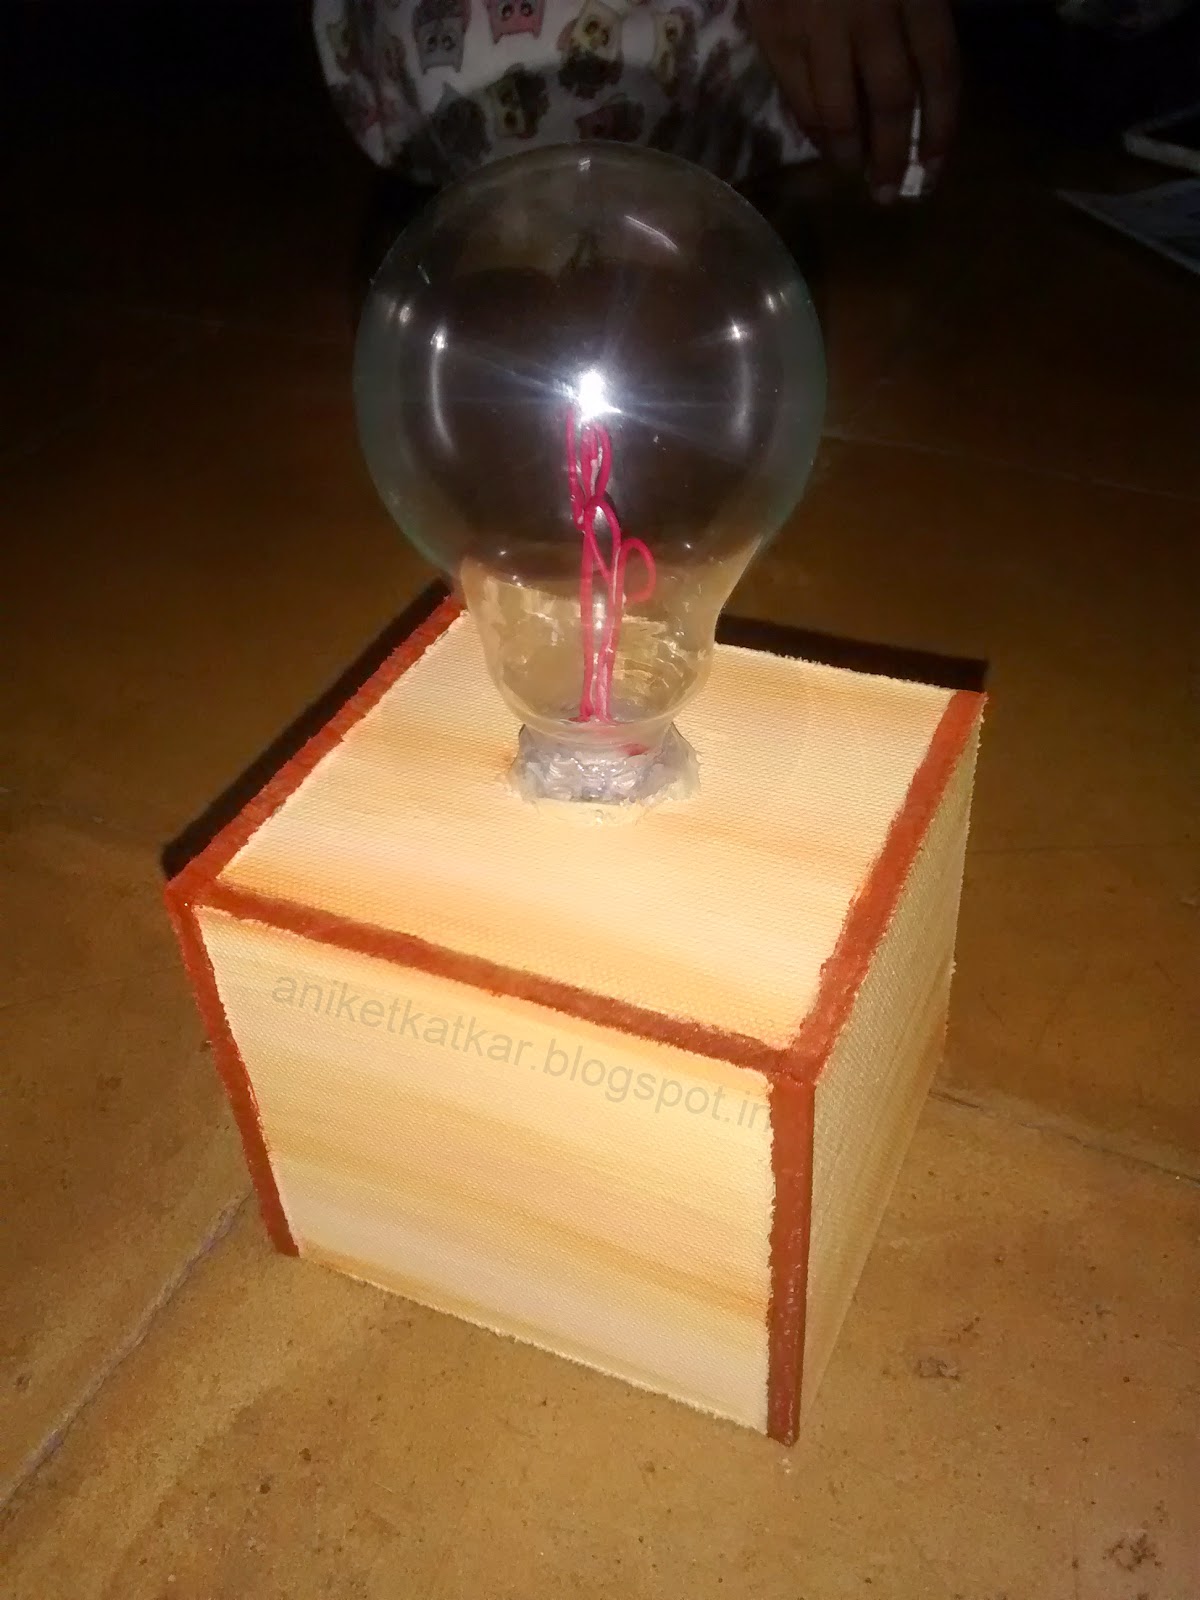
Step 8 : Glue the heart filaments made in step 5 and place the bulb firmly on it, inserting the filaments in the bulb. Secure the bulb firmly with hot glue.


Step 9 : Take the half canvas board shown in the layout and and make a slit for placing the switch, then glue it to the cube. Give a test run to see if its working.


It works!!!

Step 10 : Now all that remains is painting the box. Choose colors as per your choice. I am using a wood texture so that it looks natural.


Here's how it looks when completed. Hope it brightens your day!

Please SHARE if you like it.
Comment if you have any doubts or suggestions to help improve :)

Please like us on Facebook at www.facebook.com/ArtronicsBlog