
Pokeball Locket
Almost everyone has watched Pokemon in their life and most people love them. Only if they were real, you would love to have them and the pokeballs. Here's an article on How to make a pokeball locket for all those fans out there. Time to show off the Otaku in you!
Difficulty level : Easy
Things you will need :
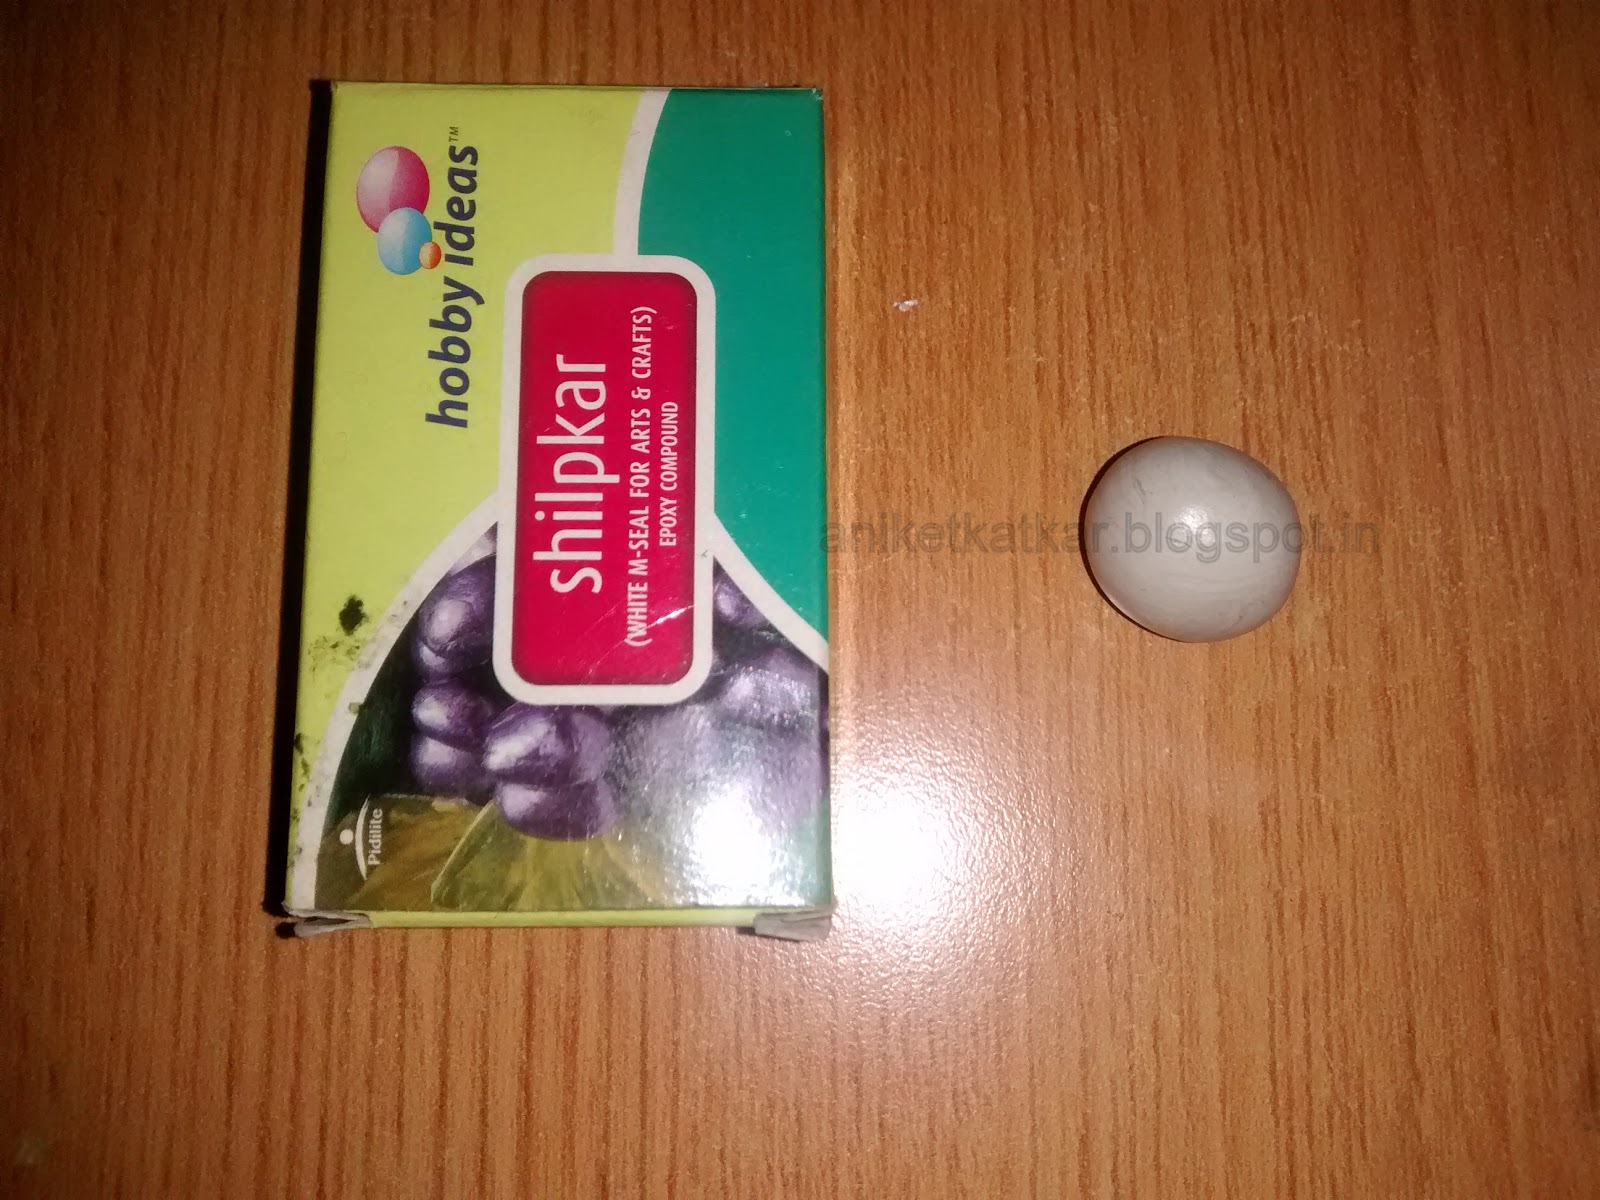
- Clay/ M-seal packet
- A paper clip or a small wire
- A chain for the locket
- Texture white
- Acrylic Paint (Red and White)
- Black permanent marker
Step 1: Take some Clay or M seal and make a small ball using it. Use M-seal Hobbyideas for best results.

Step 2 : Take a paper clip and cut it to make a small U shaped pin as shown below. Insert it in the ball before the M-seal dries.


Step 3 : After it dries, use a sandpaper to polish it a little and make it a perfect sphere. Paint the surface using Texture white.

Step 4 : Take a black permanent marker and draw the pokeball outlines as shown.

Step 5 : Paint it red and white for the regular pokeballs. Make use of Acrylic paint for best results.


Step 6 : Add one more layer of paint and give finishing touches. Apply Varnish to make it shine and protect it from dust.


Make some more with different sizes and colors! Remember, you gotta catch 'em ALL!!!
Please SHARE if you like and feel free to comment/ask what you made :)
Like us on Facebook at www.facebook.com/ArtronicsBlog


