Showing posts with label cool. Show all posts

Tuesday, March 31, 2015

How to make a Batman Penstand [with Bat Signal]

Batman Pen stand

Who doesn't like Batman?! Plus all the cool stuff he has including the Bat-mobile, Bat-pod, flying suit and weapons! Here's how you can make a cool Batman Pen stand which has a Bat-Signal, so you can light it and call Batman for help, on a press of a button ;)

Difficulty level : Easy

Things you will need :
1. Cardboard
2. Aluminium foil cardboard rolls
3. White LED
4. 3V battery
5. 3V battery holder
6. Wires
7. Glue
8. Tape
9. Switch


#Steps :

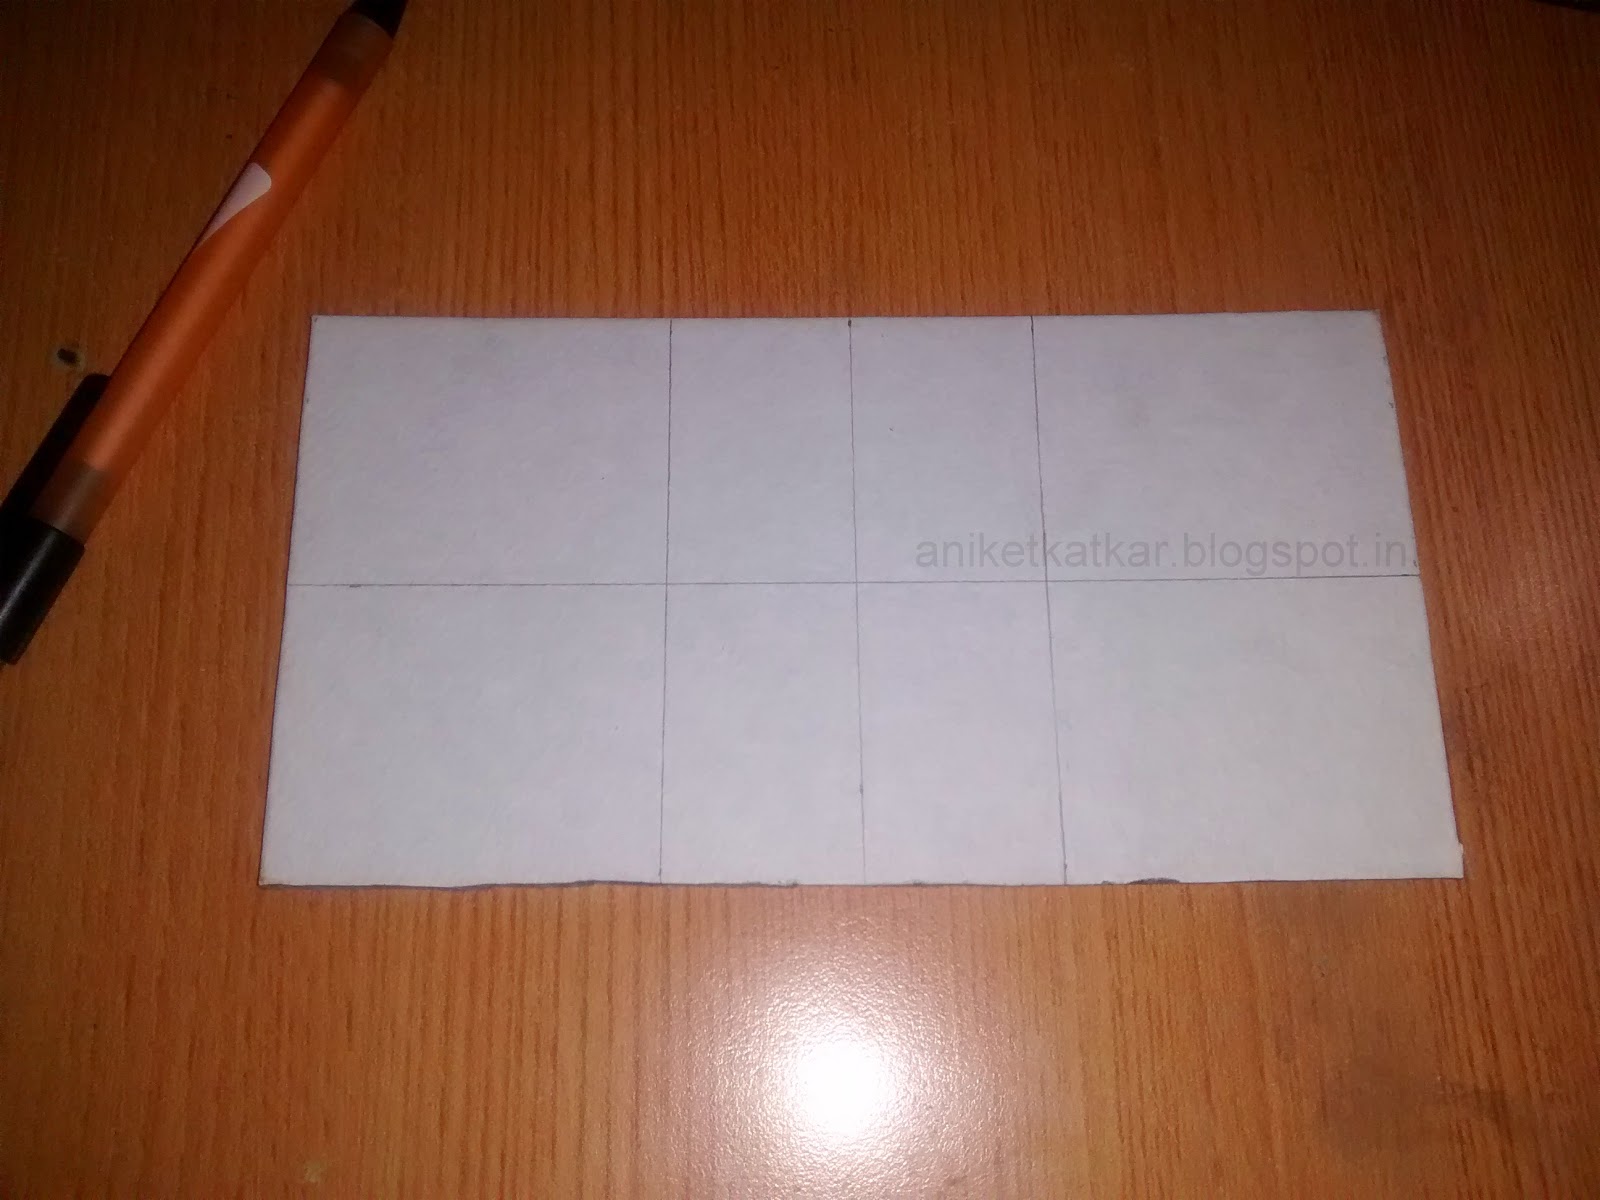
Step 1 : Take a piece of cardboard and draw your favorite logo of Batman on it. Then cut the logo out carefully. Try not to bend the cardboard. Choose from a wide range of Batman logos available on Google.


Step 2 : Cut a Aluminium foil cardboard roll as per your desired height and glue the logo to it at the top. Make sure you glue it perfectly vertical.


Step 3 : Now paint the logo black. Use acrylic colors for best results and shine.


Step 4 : Before we attach this to the base cardboard, glue an LED on it as shown.


Step 5 : Make a simple circuit to light up the LED using a 3V battery and a switch connected in series as shown. Glue it to the base using hot glue.


Step 6 : Now take two pieces of aluminium cardboard rolls of around 4-5 cm each in height and glue them properly as shown below (they will be your pen holders).


Step 7 : Now take the roll with the logo and glue it above the LED, such that the hollow part inside the roll surrounds the LED (refer photos below). Make sure the LED doesn't get damaged and the roll sticks vertically.


Step 8 : Now apply a coat of texture white to cover up patches, and rough edges. Then paint the Batman logo and the two small rolls with Black acrylic color again.


Step 9 : Now take a small piece of paper and cut in the Batman shape logo. Color it black using a marker and attach it to a transparent tape. Attach this tape to the top of the roll as shown.


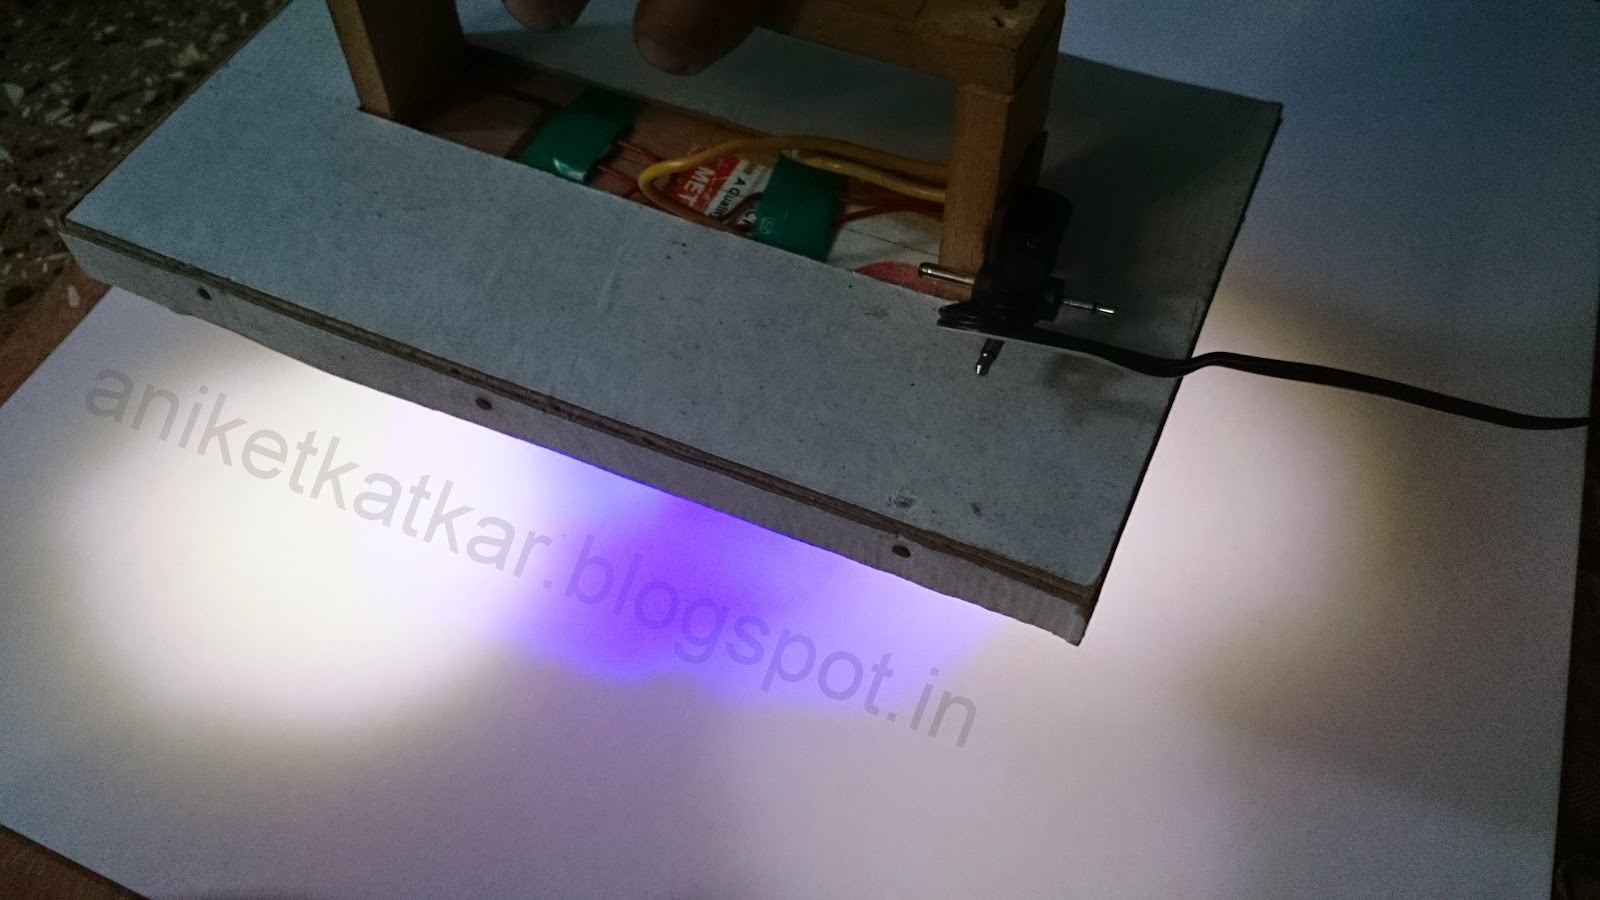
Step 10 : Now put a 3V battery in the holder and check on the cool Bat logo on your ceiling. Remember to keep your windows open to let Batman in! ;)


Bat signal on my ceiling

Follow the same steps to make things of your favorite super hero! Comment which one you made and make sure to Share this if you like it :D

Like us on Facebook at www.facebook.com/ArtronicsBlog 

Thursday, January 1, 2015

How to make a Name Tag


Name Tag

Here's how to make a cool Name Tag using Seven segment displays (SSD). Earlier, we had made a key chain using a SSD which you can view here. A similar method is used to connect the SSD's in parallel to a cell and use them to make a short Name Tag. I have used red SSD's but different colors are available in market and you can select one of your choices.

Difficulty level : Easy

Things you will need :
1. Printed Circuit Board (PCB)
2. Seven Segment Displays(SSD) x 3
2. 3v Cell
3. 3v Cell holder
4. A switch
5. Soldering equipment
6. M seal/Hot glue


Pin Diagram :


#Steps :

Step 1 : Cut a general purpose PCB of appropriate size.


Step 2 : Insert a SSD in the PCB. Make sure you don't damage the pins while doing so.


Step 3 : Insert the second and third SSD neatly besides each other. Again make sure the pins don't bend.


Step 4 : Solder all the SSD's as shown. Do not over heat the SSD's while soldering to avoid damage. Only solder the pins which you want to use.


Step 5 : Take a 3volt Battery holder and place it firmly in the PCB and solder it.


Step 6 : Add a switch in series with the cell and SSD's and solder it.


Step 7 : Place the battery in the holder and Check if its working. I wanted to display 'SHA' which is one of my friends name and seems like its working perfectly :P


Step 8 : Get Mseal or Hot glue and mix some amount to get the paste and cover the whole area as shown.


Step 9 : Paint as per your favorite color and set to dry. Here i have used black acrylic. Color as per your choice.


Thats it! Done! :) Make any names depending on the letters used. Use it on the showcase or as a nameplate on your door.

"Wishing you all a Happy New Year"

Please SHARE if you like it. Comment if you have any doubts or suggestions to help improve :)

Please like us on Facebook at www.facebook.com/ArtronicsBlog


Tuesday, September 30, 2014

How to make an Awesome Pirate Lamp


Pirate Lamp

Want to add a little light to your house, study table or just want to have a little light in Halloween. Here is a cool pirate lamp that I made using some old furniture and few LED's. It is super bright and can light up a small room. This is the first time I worked with wood. You can choose your add your own designs and make it more personal.

Difficulty level : Medium

Things you will need :

1. Printed circuit board (PCB)
2. Super bright LED's
3. LED heat sink
4. Plywood
5. Some wires
6. Sand paper
7. Skull print cloth
8. Some Nails

#Steps :

Step 1 : Cut a rectangular Plywood of the desired size and drill holes at the specified places as shown in the picture.


Step 2 : Cut a small size of PCB and solder a socket for input supply of 5 volts.


Step 3 : Cut three wood pieces of appropriate sizes and join them together as shown.


Step 4 : Attach this to the piece of plywood as shown. Make sure its right at the centre of the ply.


Step 5 : Solder all the 6 LEDs in parallel at appropriate lengths so that they reach the holes. Check if all are working properly. Place them in the holes light side down.


Step 6 : Tape the LEDs in the holes firmly and make sure they don`t move. Switch on the circuit and check if the light is falling perfectly.


Step 7 : Cover the wires on the upper side using a white card paper cut in appropriate size.


Step 8 : Pull out the connection wires out from the side. Solder the power socket made in Step 2 to the wires. Make sure the wires are firm enough and connected in the right polarity. Attach it to the side using paste or screws.


Step 9 : Plug in the power cord and check if its working.


Glow in the dark

Step 10 : Cover the card paper with a clean white paper. Draw an awesome design on the upper side of your choice. A tribal design is shown in the picture.

Tribal Design I

Tribal Design II

Final
Step 11 : Finally attach a black pirate cloth or paper as shown to cover the open part. You can attach any print of your choice. If you want to make it more attractive, place a small bulb behind the skull :P

Final Lamp
Personalize the Lamp as you want with your own color, designs and Skull. Attach it to your study table or above any decorative object. Best one is use it in Halloween ;)


Please SHARE if you like it. Comment if you have any doubts or suggestions to help improve :)

Please like us on Facebook at www.facebook.com/ArtronicsBlog