Showing posts with label halloween. Show all posts

Wednesday, July 1, 2015

How to make a 3D Art Piece

3D Art Piece

Want some cool showpiece for the empty space on your table? Or just some nice decorations for an occasion? Here's how you can make a 3D Art Piece using Hot glue and a LED. Using Hot glue is simpler and economical than using a 3D printer for such shapes.
You can view the How to video tutorial here 

Difficulty level : Easy

Things you will need :
  1. Hot glue gun
  2. 3V LED
  3. 3V Coin cell
  4. 3V Coin cell holder
  5. A small cardboard box
  6. Some plastic sheets
  7. LED heatsink
#Steps : 

Step 1 : Take a small box as shown and cut the flaps off both sides. The box should look as shown after cutting the flaps.


 Step 2 : Open the box from the edge as shown. Then wrap a piece of plastic around it, and make the box again. The plastic wrap prevents the hot glue from sticking to the box.


Step 3 : Take an LED and place it on a heatsink and solder its terminals to the heatsink.


Step 4 : Now glue the heatsink to a 3V coin cell holder's back and solder the terminals to the holder's terminals. Make sure you keep the right polarity while soldering.


Step 5 : Place the LED on a plastic sheet and place the box on it as shown. Make sure the LED is in the center of the box.


Step 6 : Hold the box with your hand and pour Hot glue in the box enclosure using a Hot glue gun. Pour as much as half the box.


 Step 7 : Let the whole assembly dry.


Step 8 : Remove the setup and start removing the box slowly. You will get a nice finish and make sure you dont damage the strand like structures because they look really cool.


Step 9 : Place a 3V Coin cell in the holder and let the magic work for itself.


With Flash
No Flash
In Dark room
In Dark room: HDR mode

 You can experiment with various boxes and different shapes and sizes. Also you can sprinkle some glitter whilst pouring the hot glue for extra aesthetics. Have fun. Share your views or ideas in the comments.

You can view the How to video tutorial here

Please SHARE if you like and feel free to comment/ask what you made :)

Like us on Facebook at www.facebook.com/ArtronicsBlog 

Tuesday, September 30, 2014

How to make an Awesome Pirate Lamp


Pirate Lamp

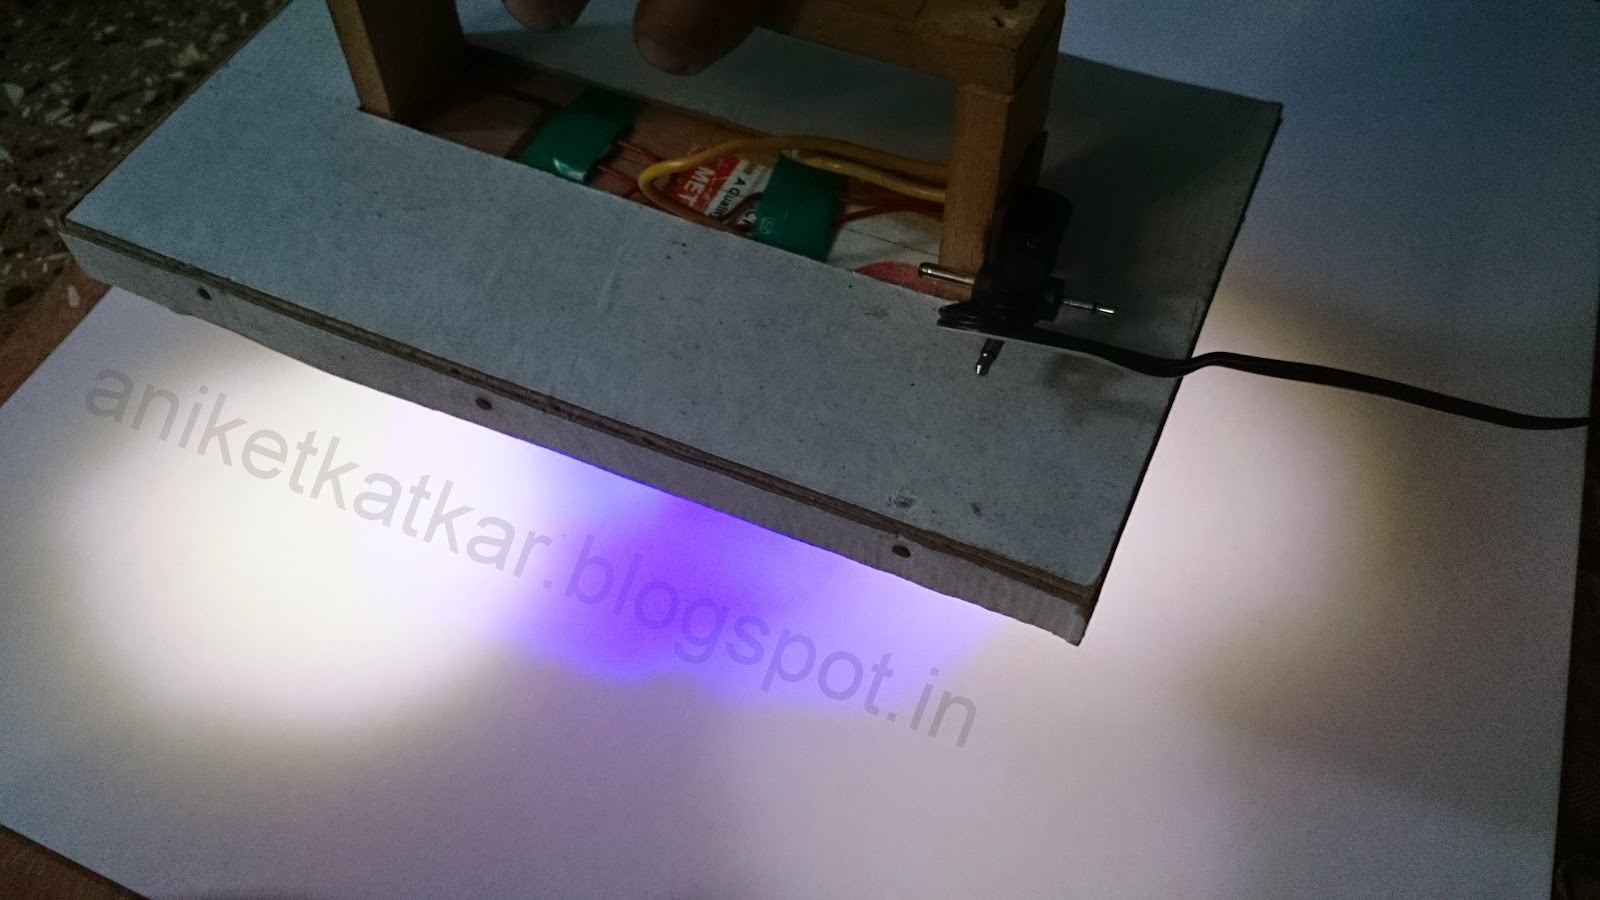
Want to add a little light to your house, study table or just want to have a little light in Halloween. Here is a cool pirate lamp that I made using some old furniture and few LED's. It is super bright and can light up a small room. This is the first time I worked with wood. You can choose your add your own designs and make it more personal.

Difficulty level : Medium

Things you will need :

1. Printed circuit board (PCB)
2. Super bright LED's
3. LED heat sink
4. Plywood
5. Some wires
6. Sand paper
7. Skull print cloth
8. Some Nails

#Steps :

Step 1 : Cut a rectangular Plywood of the desired size and drill holes at the specified places as shown in the picture.


Step 2 : Cut a small size of PCB and solder a socket for input supply of 5 volts.


Step 3 : Cut three wood pieces of appropriate sizes and join them together as shown.


Step 4 : Attach this to the piece of plywood as shown. Make sure its right at the centre of the ply.


Step 5 : Solder all the 6 LEDs in parallel at appropriate lengths so that they reach the holes. Check if all are working properly. Place them in the holes light side down.


Step 6 : Tape the LEDs in the holes firmly and make sure they don`t move. Switch on the circuit and check if the light is falling perfectly.


Step 7 : Cover the wires on the upper side using a white card paper cut in appropriate size.


Step 8 : Pull out the connection wires out from the side. Solder the power socket made in Step 2 to the wires. Make sure the wires are firm enough and connected in the right polarity. Attach it to the side using paste or screws.


Step 9 : Plug in the power cord and check if its working.


Glow in the dark

Step 10 : Cover the card paper with a clean white paper. Draw an awesome design on the upper side of your choice. A tribal design is shown in the picture.

Tribal Design I

Tribal Design II

Final
Step 11 : Finally attach a black pirate cloth or paper as shown to cover the open part. You can attach any print of your choice. If you want to make it more attractive, place a small bulb behind the skull :P

Final Lamp
Personalize the Lamp as you want with your own color, designs and Skull. Attach it to your study table or above any decorative object. Best one is use it in Halloween ;)


Please SHARE if you like it. Comment if you have any doubts or suggestions to help improve :)

Please like us on Facebook at www.facebook.com/ArtronicsBlog