Wednesday, June 18, 2014

How to make a 3x3x3 LED cube


LED Cube

Here is an attractive and unique decorative article you can make that fits on your table and can be used on occasions like Christmas or as a showpiece. This is a non-programmed version. The chip inside produces 512 random patterns until it repeats itself .

Here is the finished video of the LED cube :
http://youtu.be/-TGM-6O2EeU

Prerequisite: Basic soldering knowledge is needed. The soldering is kind of tricky but easy when you understand it.

Difficulty level : Medium

Things you will need :
1. 27 LED's of any color
2. 9 volt battery
3. IC 4020
4. NE555
5. 33k ohm resistor
6. 1uF capacitor
7. Copper plate.
8. Etching materials - Acetone/nail polish remover, sand paper, ferrous chloride.

Following video shows how to etch the circuit on a copper plate
http://youtu.be/Vlui7s4lj7g

Circuit diagram :


#Steps:

Step 1. Take piece of copper plate and cut it in appropriate size.


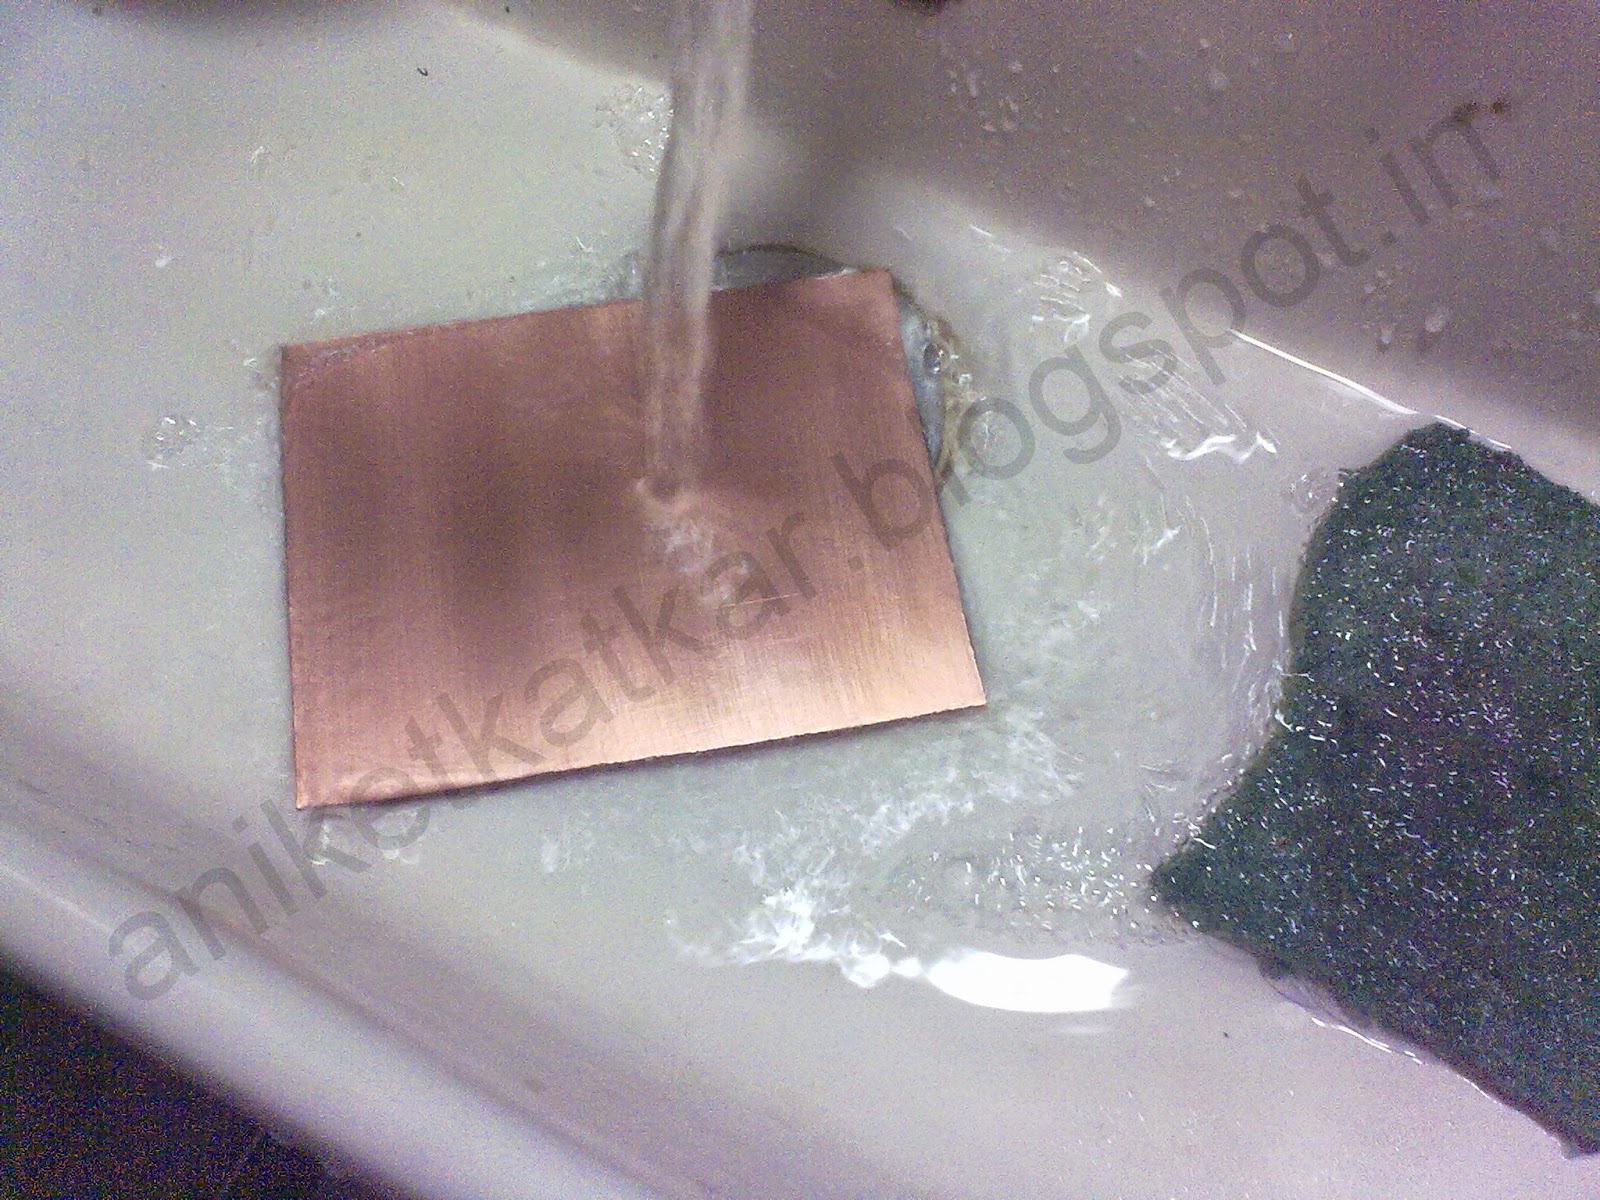
Step 2. Polish the copper plate with sand paper or scotch bright until the surface shines (This is done to remove the oxidation layer from the surface).

Step 3. Print the circuit given on the glossy side of a Photo paper. Wrap the paper on the copper plate, with the printed side on the copper side of the plate. Tape the corners to make it firm.


Step 4. Press the paper on the copper plate with a hot iron for 5 minutes.


Step 5. Dip the copper plate in warm water as soon as you finish ironing it for 5 minutes (make sure to use gloves as the copper plate will be hot). Keep the plate in water for 5 minutes.

Step 6. Take the plate out of water and remove the paper. The circuit should be printed on the copper plate now as shown in the picture. Rinse the plate in water.


Step 7. Darken the circuit using a black permanent marker.


Step 8. Prepare a solution of ferrous chloride with water in a plastic bowl (3 spoons of ferrous chloride and around 200 ml of water). Do NOT use a metallic bowl and wear gloves as the solution becomes hot and is corrosive. Dip the copper plate in the prepared solution and keep stirring.


Step 9. Continue this process until all the copper from the plate washes away leaving only the marked circuit behind.


Step 10. Wash the black marker lining using Acetone or nail polish remover.


Step 11. Drill holes on the plate as shown in the circuit for components and solder them as shown in the circuit.


For making the LED cube :

Step a. Take a LED and bend the Anode terminal as shown. Bend 27 LEDs in this way and solder them in series as shown.


Step b. Make 9 such strands of 3 LEDs in series. Connect cathodes of all the strands to a common square frame and connect it to Ground using a wire.


Step 12. Take the LED cube and solder each anode of the strand on the circuit, marked 1,2,3,4,5,6,7,8,9.


Step 13. The LED cube will look like this after completion. Connect a switch if needed.


This is a non programmed model. You can use Arduino, AtMega or other micro controllers to create your own design on the cube using Programming. Turn off the lights, switch on the LED cube and see the amazing patterns. Thank you.

Please Comment and Share if you like :)

LIKE us on facebook www.facebook.com/ArtronicsBlog

Monday, April 14, 2014

How to make a LED heart minion necklace


 Minion Heart Necklace

Yet another unique gift for your special someone. What makes it unique is, it glows and blows minds!
Well technically, the LED's in the necklace glow when you press the pendant and also when you thread it to a metal chain. Here are the steps to make it.

 Here's a video of how it looks when its done: http://youtu.be/jx08CxBUhYQ

Prerequisite : Basic soldering knowledge.

Difficulty level : Medium

Things you will need :
1. 2x RGB LED's
2. 2x 3V Battery
3. Soldering iron and wire
4. Hot glue gun
5. Reset switch
6. Conducting wires
7. Texture white
8. Acrylic colors

#Steps:

Step 1: Take a general purpose PCB and cut two heart shaped parts.


Step 2: Take one part and design the circuit as shown in the diagram. Solder the LEDs in series with the battery (6V). Connect a switch between the terminals.  Make contact on the PCB for the negative terminal of the battery using small wire.


Step 3: Extend two terminals out of the PCB (to attach the necklace later) and solder the terminals to the circuit.


Step 4: Take the other part of PCB and make contact for the positive terminal of the battery.


Step 5: Place batteries on the terminals with the right polarities. Check and Make sure the LEDs glow before going further to make sure the circuit works.


Step 6: Join the two parts and align them properly. Use a pair of clippers to hold them firm. Use a hot glue gun to bind the two pieces together and seal the circuit. Make sure you leave enough space not too much not too less so that the switch works effortlessly after you hot glued it.


Step 7: Use a hot solder iron to smooth out and make the surface of the hot glue even and shiny. Apply a coat of Texture white to make the surface smooth and uniform. Let it dry.


Step 8: Draw a minion of your choice on the plain side with a pencil and use acrylic colors to paint it.


Step 9 : Apply a coat of varnish and let it dry and you are done!! Watch them glow!! ^_^


Thank you. Please COMMENT and SHARE if you like it :)

LIKE us on facebook www.facebook.com/ArtronicsBlog

Sunday, March 16, 2014

How to make a Minion

 Minion

Loved the Minions in the Despicable Me Movie? Well here is a way to make a paper mâché Minion and add a little pinch of electronics in it. By recycling a bit of scrap from your home, you can make your own minion dolls for play or display.

Difficulty level : A play in the park.

Things you will need :
1. Aluminium foil roll
2. Some old newspapers
3. Glue
4. Toothpicks
5. Pen refills
6. Some clay
7. Paint
8. Varnish

#Steps:

Step 1: Take an Aluminium foil roll and cut it in to a preferable size. Draw a rough face on it for reference.

Step 2 : Make a small circuit with an LED and 1k ohm resistor in series. Punch two holes at the back bottom of the minion and let the wires out out it. You will later connect a battery (5V) to these wires to turn on the LEDs.


Step 3 : Make a paper mâché paste and fill the Minion with it. To learn how to make paper mâché click http://www.instructables.com/id/Make-paper-mache-pulp . Punch two holes for hands around the middle and insert toothpicks of appropriate size.


Step 4 : Apply a coat of white texture using Acrylic color. It will give a good finish for painting the surface.


Step 5 : Attach two refills for legs of the Minion and make sure it will be able to balance itself in standing position. Use clay to make the boots and gloves.


Step 6 : Make the eye band using clay and paint the Minion yellow and blue as shown.


Step 7 : Use black color for the gloves and boots and the back of eye band. Colour the eyeband and the mouth.


Step 8 : After everything dries up, apply a layer of varnish for a shiny finish and to protect against dirt. Let it dry.


Here's how the Minion looks in the dark with the LEDs on.

Done!!! Add it to your art collection, keep it on display or play.
Make a whole army!

Please comment your views and SHARE if you like.

LIKE us on facebook www.facebook.com/ArtronicsBlog