Tuesday, March 31, 2015

How to make a Batman Penstand [with Bat Signal]

Batman Pen stand

Who doesn't like Batman?! Plus all the cool stuff he has including the Bat-mobile, Bat-pod, flying suit and weapons! Here's how you can make a cool Batman Pen stand which has a Bat-Signal, so you can light it and call Batman for help, on a press of a button ;)

Difficulty level : Easy

Things you will need :
1. Cardboard
2. Aluminium foil cardboard rolls
3. White LED
4. 3V battery
5. 3V battery holder
6. Wires
7. Glue
8. Tape
9. Switch


#Steps :

Step 1 : Take a piece of cardboard and draw your favorite logo of Batman on it. Then cut the logo out carefully. Try not to bend the cardboard. Choose from a wide range of Batman logos available on Google.


Step 2 : Cut a Aluminium foil cardboard roll as per your desired height and glue the logo to it at the top. Make sure you glue it perfectly vertical.


Step 3 : Now paint the logo black. Use acrylic colors for best results and shine.


Step 4 : Before we attach this to the base cardboard, glue an LED on it as shown.


Step 5 : Make a simple circuit to light up the LED using a 3V battery and a switch connected in series as shown. Glue it to the base using hot glue.


Step 6 : Now take two pieces of aluminium cardboard rolls of around 4-5 cm each in height and glue them properly as shown below (they will be your pen holders).


Step 7 : Now take the roll with the logo and glue it above the LED, such that the hollow part inside the roll surrounds the LED (refer photos below). Make sure the LED doesn't get damaged and the roll sticks vertically.


Step 8 : Now apply a coat of texture white to cover up patches, and rough edges. Then paint the Batman logo and the two small rolls with Black acrylic color again.


Step 9 : Now take a small piece of paper and cut in the Batman shape logo. Color it black using a marker and attach it to a transparent tape. Attach this tape to the top of the roll as shown.


Step 10 : Now put a 3V battery in the holder and check on the cool Bat logo on your ceiling. Remember to keep your windows open to let Batman in! ;)


Bat signal on my ceiling

Follow the same steps to make things of your favorite super hero! Comment which one you made and make sure to Share this if you like it :D

Like us on Facebook at www.facebook.com/ArtronicsBlog 

Saturday, February 28, 2015

You are the light of my life

Light of my Life

Want to express your love to someone, but cant explain it in words? Why not make something and show them how much they mean to you. As the name suggests "You are the light of my life" will make them understand. If not, on the bright side it can also be used as your bed side lamp ;)

Check how it looks and works in the video link below :
http://youtu.be/BDRMNmwqJgw

Difficulty level : Moderate

Things you will need :
1. Canvas board (30 x 30 cm)
2. Used bulb
3. Cell 3V
4. Cell holder
5. Yellow LED with heatsink
6. Wires
7. Hot Glue gun

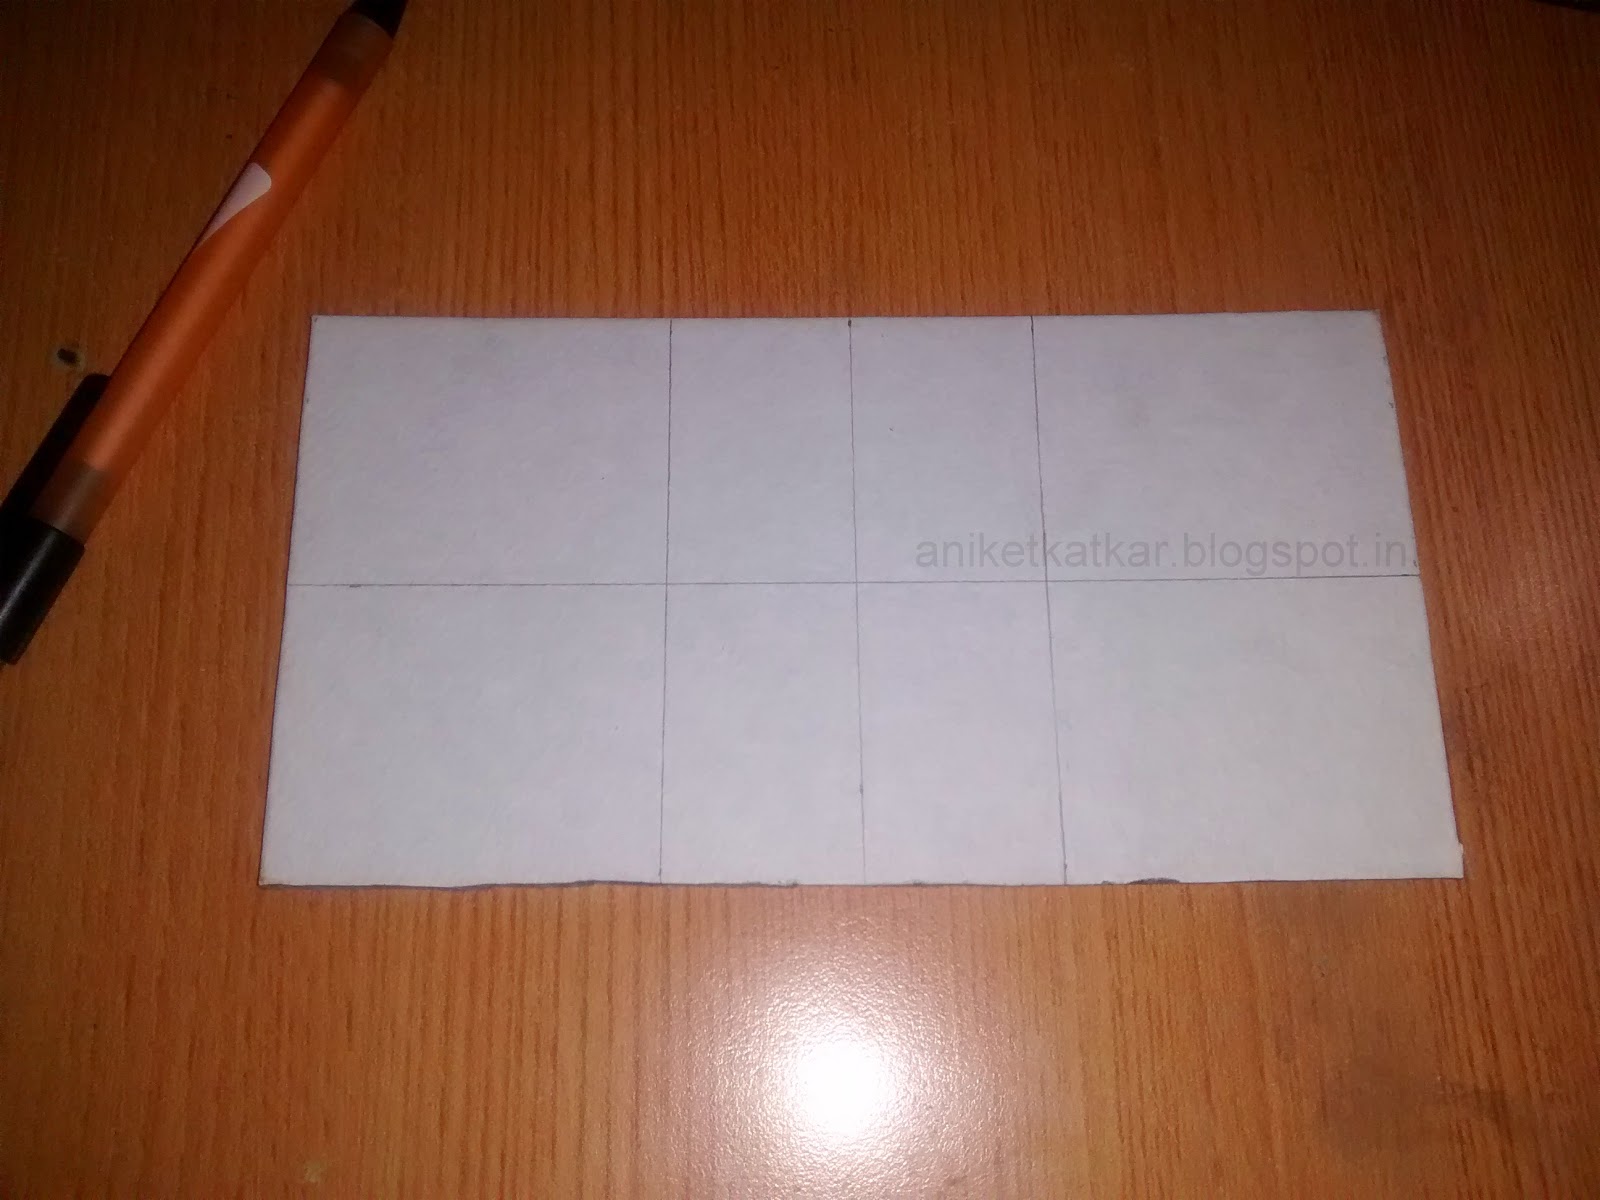
Box Layout & Dimensions :


#Steps :

Step 1 : Take the canvas board and cut it as shown in the layout.


Step 2 : Start gluing and sticking all the sides one by one to make a box. Reinforce the corners using hot glue to make it stronger (shown in last photo of this step).


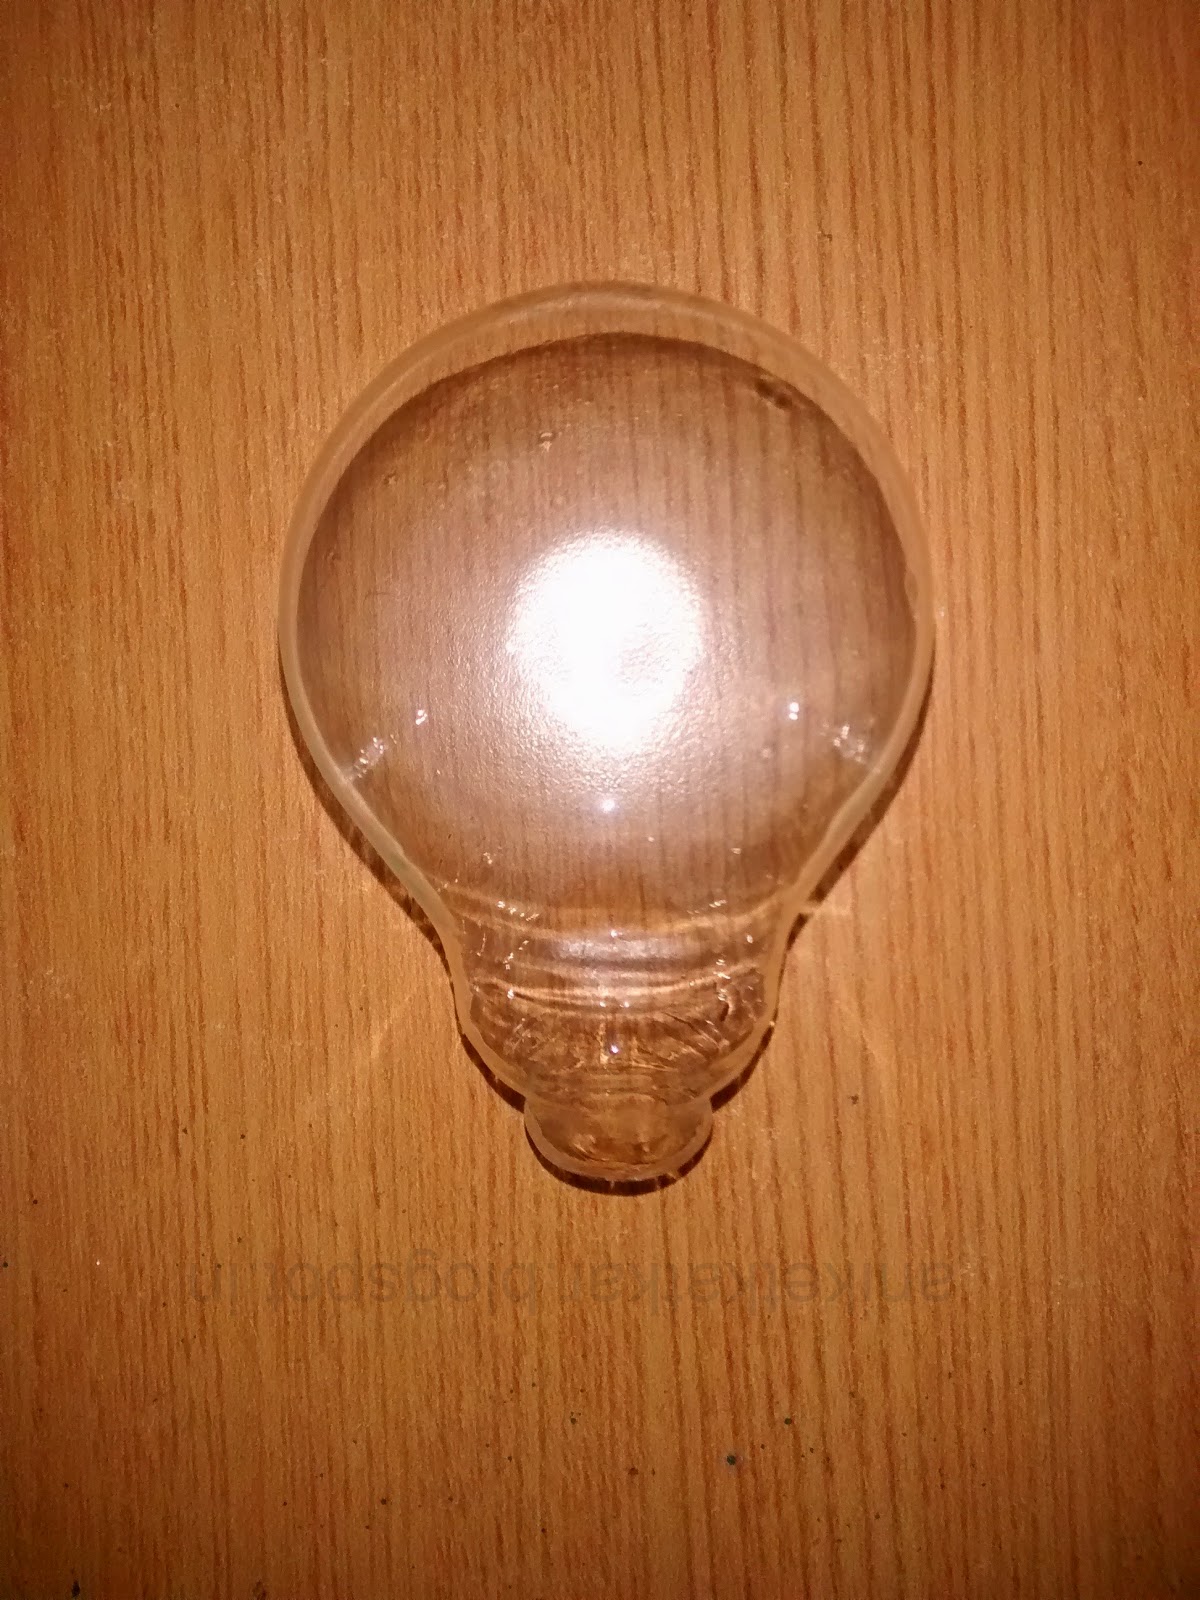
 Step 3 : Take a Lamp bulb and remove the silver cover by cutting it. Make sure you don't break the bulb while doing so.


Step 4 : Now carefully break the inner filament of the bulb and take everything out. Again, make sure the bulb doesn't break.


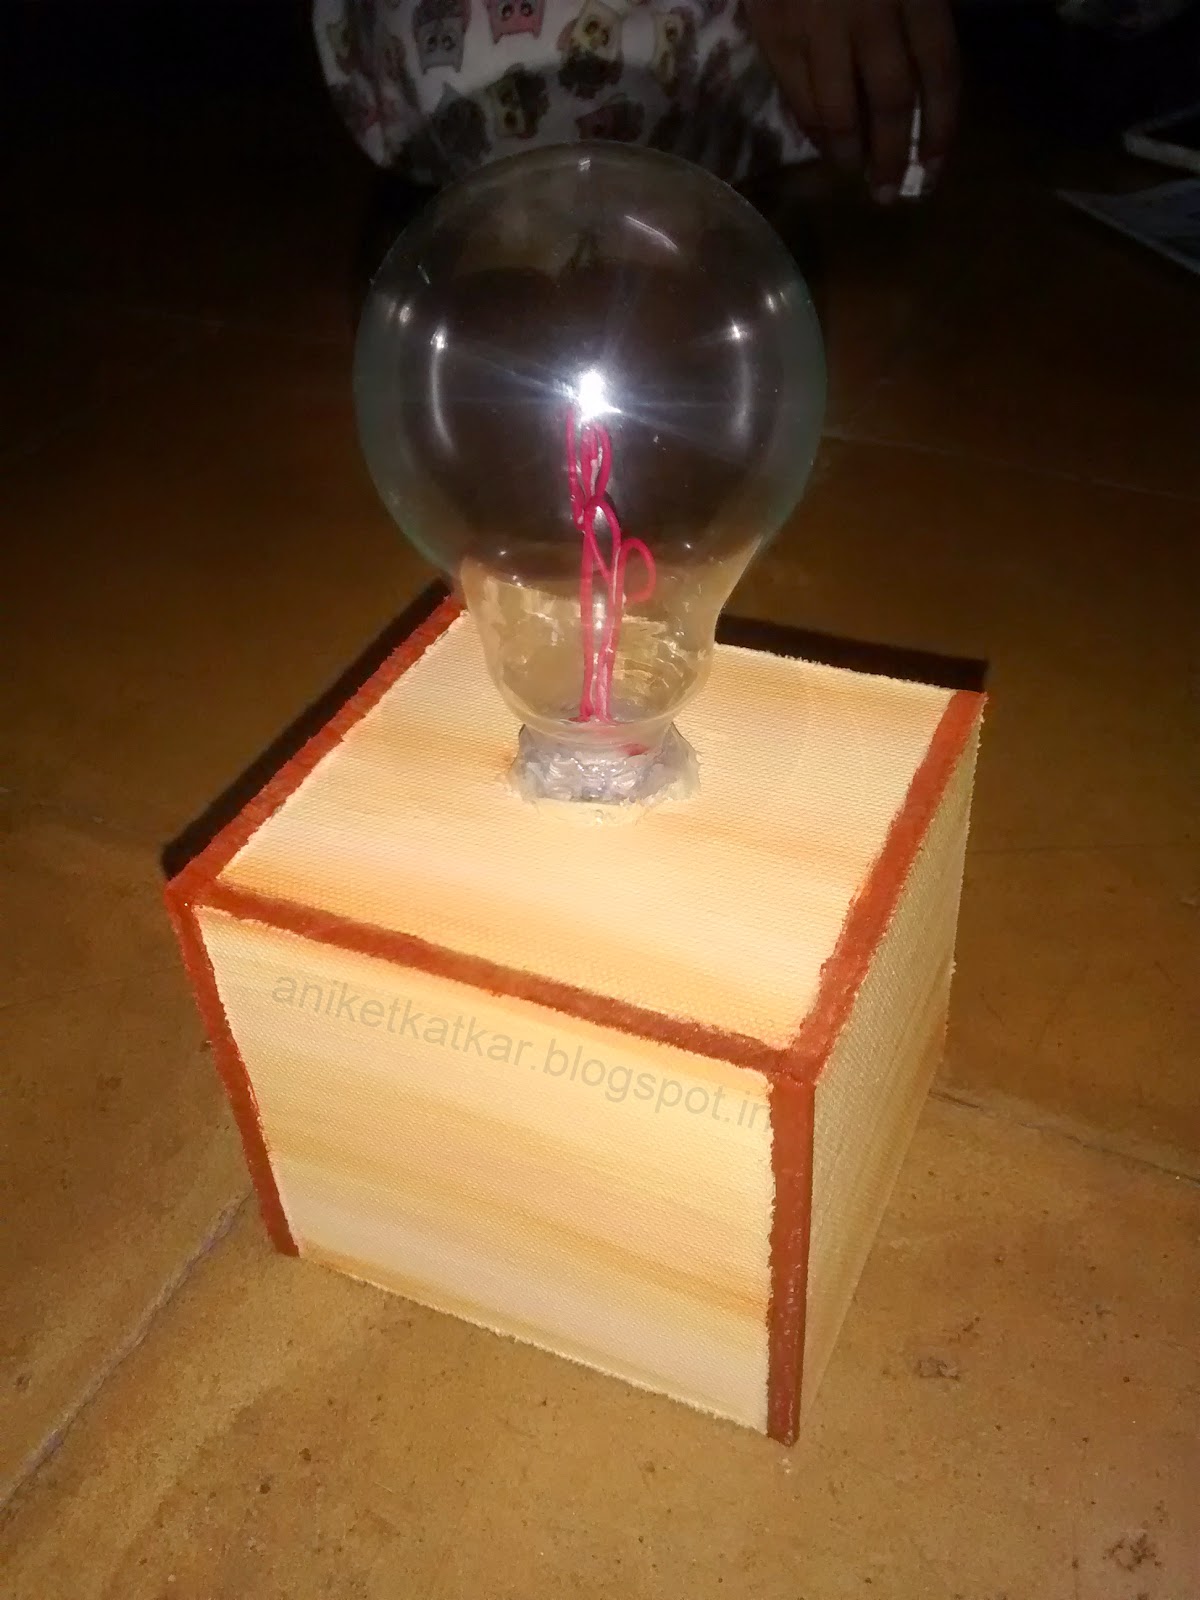
Step 5 : Take two pieces of wire and make heart shaped filaments from it as shown. Then secure them using glue.


Step 6 : Keep one side of the cube open to insert the circuit. The side besides the open side will be the top. Mark the center of the top side and make a hole through it using something pointed.


Step 7 : Make a simple circuit by connecting an LED, switch and cell in series. Take the wires through the hole such that the LED remains above.


Step 8 : Glue the heart filaments made in step 5 and place the bulb firmly on it, inserting the filaments in the bulb. Secure the bulb firmly with hot glue.


Step 9 : Take the half canvas board shown in the layout and and make a slit for placing the switch, then glue it to the cube. Give a test run to see if its working.


It works!!!

Step 10 : Now all that remains is painting the box. Choose colors as per your choice. I am using a wood texture so that it looks natural.


Here's how it looks when completed. Hope it brightens your day!

Please SHARE if you like it.
Comment if you have any doubts or suggestions to help improve :)

Please like us on Facebook at www.facebook.com/ArtronicsBlog